Kardemumma Bulle Adventure
- ann1ea
- Nov 2, 2021
- 2 min read
Cardamom rolls can't be that hard...

Yes, they can.
My new friends and I tried to make cardamom buns! These are like cinnamon rolls, but you use a delicious cardamom flavoring for the dough and the sugar-y innards instead of cinnamon. They are delicious, and we thought it would be an excellent treat to make for a friend's party!
Step 1:
Read the instructions! The instructions very clearly state this recipe takes one hour of prep time and one hour of bake time. However, they don't include the "rising time" in that count. Budget an additional 2 hours for rising. A minimum of 4 hours is required for these buns, probably more like 5+ though. It's a whole day thing.
Step 2:
Mix all the dry ingredients and the wet ingredients. Slowly combine them together.
Knead the dough until the gluten has all formed, maybe 15 minutes. I used some "live yeast" for the first time ever on this project, it is kind of like play-dough.
Let this dough sit in a nice oiled bowl and let it rise until doubled in size.

Step 3:
Now we get to assemble our rolls! Roll out the dough into a rectangular sheet. Spread the cardamom butter sugar mixture gently on this sheet. Fold the dough thrice, like a pamphlet or a letter. Then cut equal strips of the dough. We did them smaller so there would be more buns, but the recommended width is about 6 cm by 11 cm.
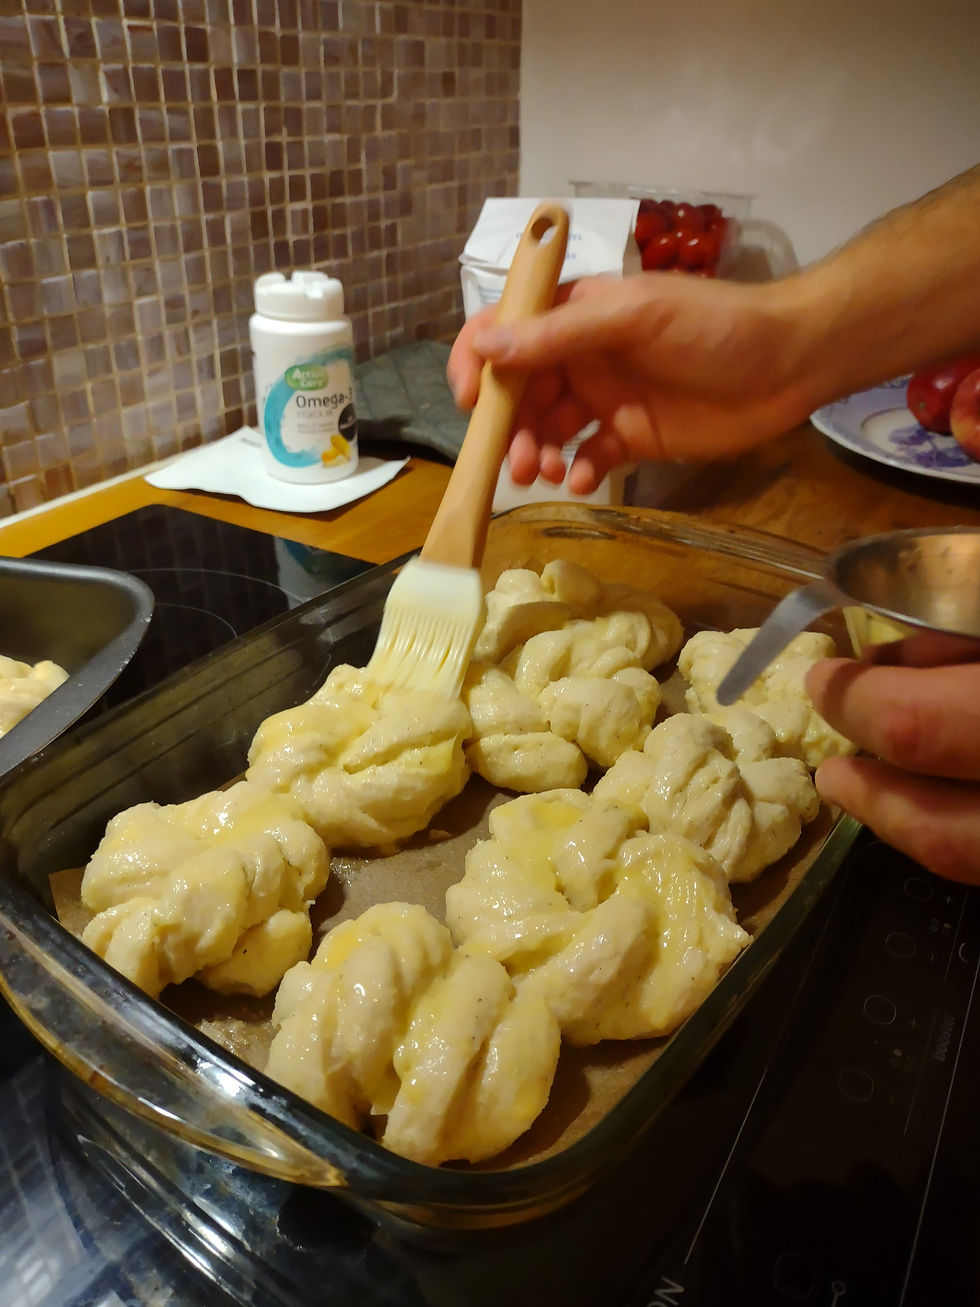
Cut each strip long ways down the middle, but don't completely sever the halves. Leave the top of the dough intact. This leaves you with two "strands" which we then need to twist outward from the middle. once they are twisted enough, tie the dough into a knot and tuck the ends under.

Butter literally got everywhere when we did this, and the strips were too small to do the dual cut and twist, so we just twisted each strip individually and tied them up by themselves. It worked fine and there was plenty to eat!.

Step 4:
Let these twisted and tied buns rest! They need to rise for another 30 minutes or so.
Once they are fully risen, you should brush the top with an egg and add LOTS of Pearl Sugar. This gives them the classic "swedish" look, and it is absolutely critical.


Step 5:
Bake, then brush with a sugar water. This seals in the moisture and makes them extra shiny for the gram!
Then EAT while WARM!
They were a big hit and I had a lot of fun baking them! Would definitely repeat the process, I would also just give myself some extra time!


Comments